The Google Magic Eraser serves as an effective tool, empowering Samsung users to eliminate undesirable elements or people from their pictures effortlessly. By following a simple process, you can conveniently edit your photos directly on your Samsung device, resulting in impressive, professional-looking results. This comprehensive guide will lead you through the steps to access and utilize the Google Magic Eraser feature on your Samsung phone while offering valuable tips and tricks to elevate your editing journey.
Accessing the Magic Eraser Feature
Before using the Magic Eraser feature, it is essential to ensure that you have the most up-to-date edition of the Google Photos application installed on your Samsung device. You can easily access the app from the Google Play Store if you do not have the app or require an update.
After successfully installing and updating the Google Photos app, you can proceed to access the Magic Eraser feature by following these steps:
- Open the Google Photos app on your Samsung phone.
- Browse through your albums or use the search feature to select the photo you want to edit.
- Tap on the chosen image to open it in full view.
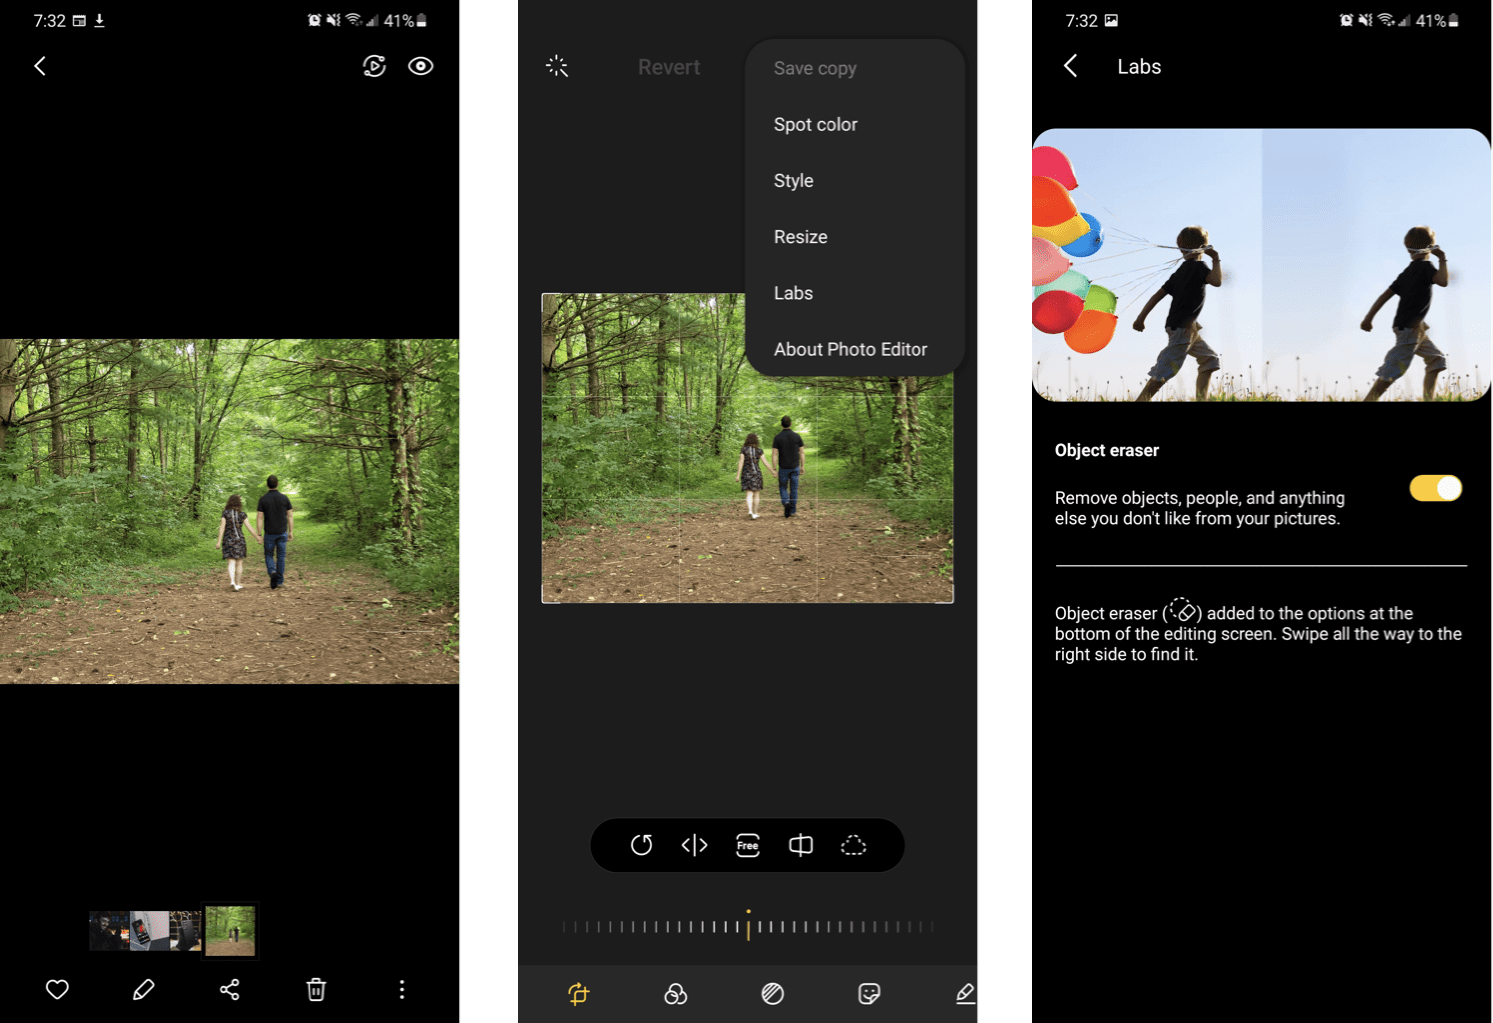
- Look for the Edit button, typically at the bottom of the screen, and tap on it to enter the editing mode.
Using the Magic Eraser Tool
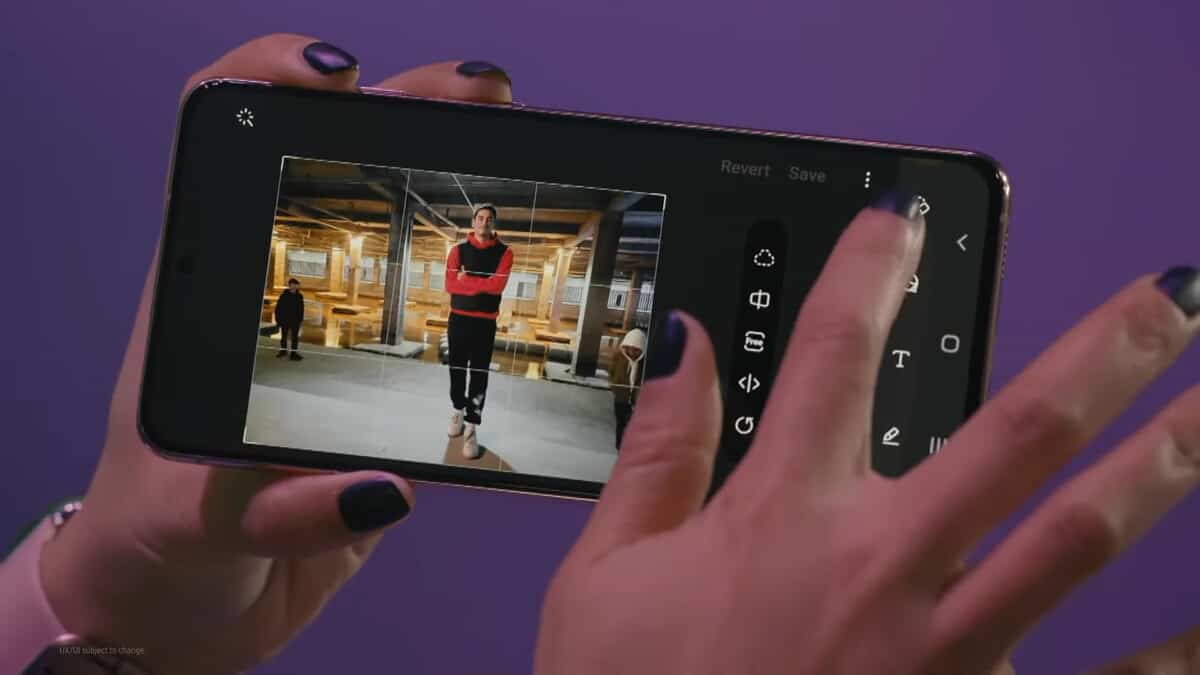
Now that you are in editing mode, you can use the Magic Eraser tool to eliminate undesired objects or individuals from your photo. To make the most of this feature, follow these steps:
- Find the Magic Eraser option within the editing tools, typically located in the Tools or Effects section.
- Activate the Magic Eraser feature by selecting it.
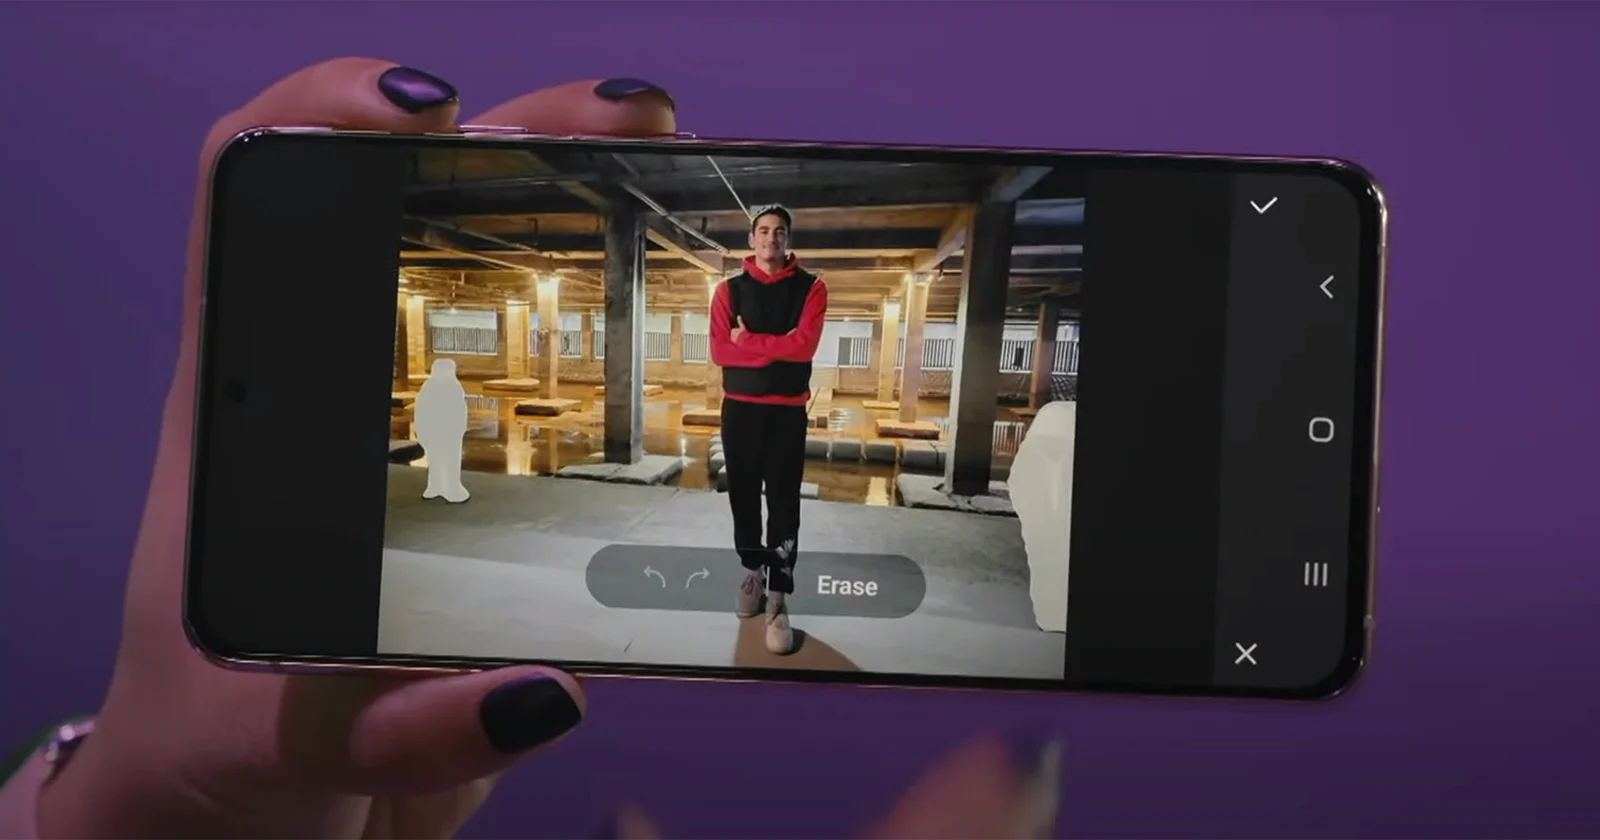
- A circle or brush tool will appear on the screen. Use this tool to circle or brush over the object or person you wish to eliminate from the photo.
- Once selected, the Magic Eraser will automatically analyze the image and remove the chosen portion. In some instances, it may offer suggestions for objects or people to remove based on its analysis.
- If the Magic Eraser’s suggestions do not align with your needs, you can manually adjust the selection by redrawing the circle or brushing over the desired area.
- When satisfied with the results, tap the Apply or Save button to save the edited photo to your gallery.
Tips and Tricks for Using the Magic Eraser Effectively
Maximize the potential of the Magic Eraser feature on your Samsung device with these helpful tips and tricks:
- Play around with Brush Size: Adjust the brush tool’s size to match the object you wish to erase. Larger brush sizes for bigger elements and smaller ones for more delicate details.
- Utilize Undo and Redo: In case of errors or to compare the edited version with the original, access the Undo and Redo buttons on the editing interface. It will help you refine your edits and achieve the desired result.
- Practice for Perfection: Like any editing tool, the Magic Eraser feature needs practice for mastery. Use various photos and objects to acquaint yourself with its capabilities and limitations. Over time, you’ll refine your skills and achieve flawless edits.
Compatibility and Future Updates
The Google Magic Eraser feature is available on specific Samsung devices equipped with the Google Photos app. Nevertheless, compatibility might differ depending on the device model and software version. To ensure access to the latest features and improvements, it is essential to maintain an updated Google Photos app on your device.
Furthermore, it is essential to note that Google consistently updates its apps and introduces new functionalities. For this reason, it is advisable to check for updates on the Google Play Store regularly. It ensures that you have the most recent version of the Google Photos app and the potential to benefit from any enhancements to the Magic Eraser feature.
Conclusion
With the Google Magic Eraser feature on your Samsung device, you can effortlessly remove undesired elements or people from your photos. By following the comprehensive step-by-step guide outlined in this article and applying the shared tips and tricks, you can achieve professional-looking edits without expensive photo editing software. Remember to practice and explore various photos to enhance your proficiency by utilizing this powerful tool. So, grab your Samsung device, open Google Photos, and start on the journey of crafting stunning, edited images using the Magic Eraser tool!